

Material Selection
The choice of resin material directly determines the final properties and potential applications of a printed part. Moving from simply “printable” to “application-ready” requires going beyond standard resins and selecting materials based on specific functional, aesthetic, or professional requirements.
Below are several common high-performance resin categories and their typical application guidelines.
Resin Type Overview
| Type | Standard Resin | ABS-Like Resin | Toughness Resin | Flexible Resin | 14K Standard Resin | High Clear Resin |
| Hardness | ★★ | ★★★★ | ★★★★★ | ★ | ★★★ | ★★ |
| Toughness | ★ | ★★★ | ★★★★ | ★★★★★ | ★★ | ★★ |
| Printability | ★★★★★ | ★★★ | ★★ | ★★ | ★★★ | ★★★ |
| Surface Finish | ★★★★ | ★★★ | ★★★ | ★★ | ★★★★★ | ★★★★★ |
| Typical Applications | Models, Figures / Garage Kits | Functional Parts | Engineering Parts | Flexible / Elastic Parts | High‑Detail Models | Display Pieces / Showcase Models |
Standard Resin
Standard resin is a balanced photopolymer designed to provide a good compromise between mechanical strength, print accuracy, and cost. It is the most commonly used material for general-purpose printing.
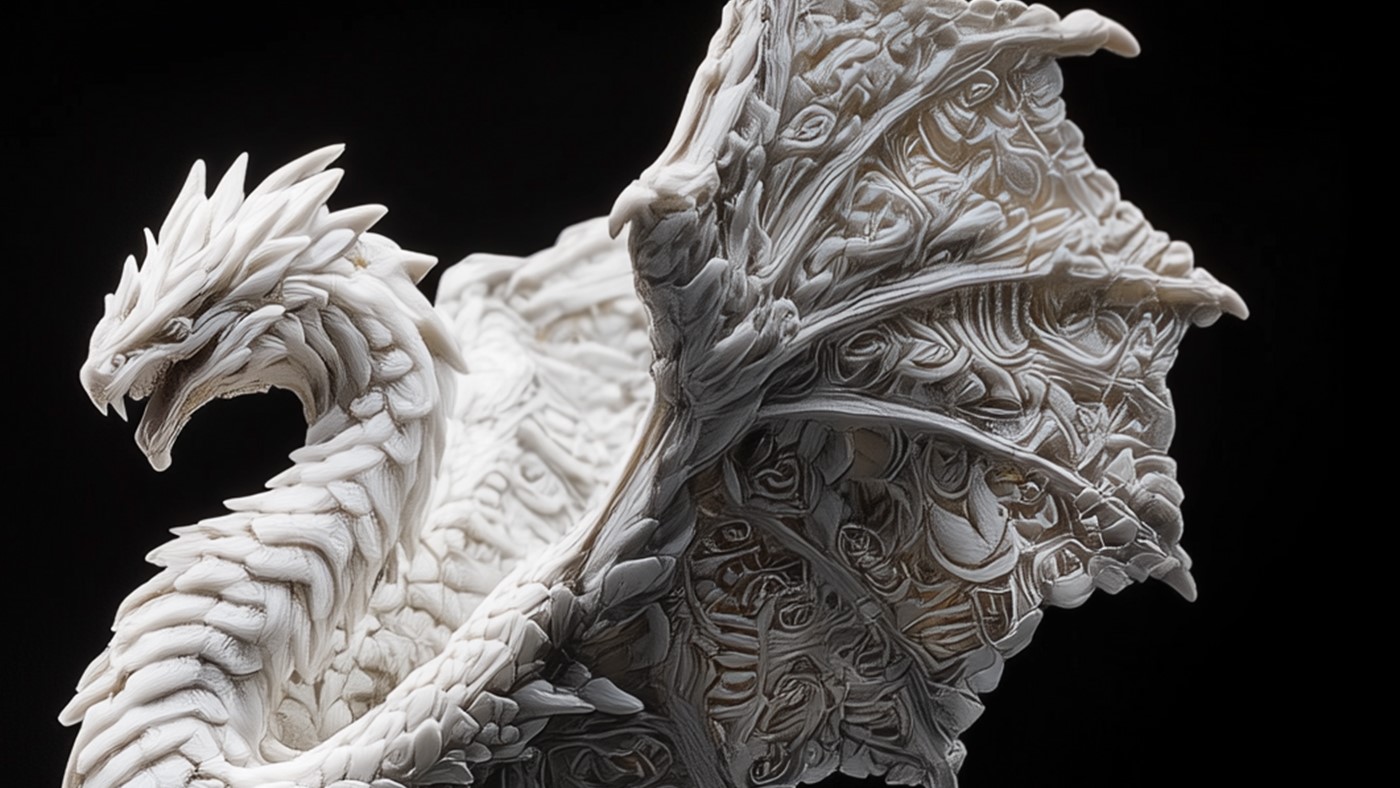
① Balanced performance: Provides a practical balance between strength, detail accuracy, toughness, and price.
② Beginner-friendly: Less sensitive to exposure settings and environmental temperature, resulting in a higher print success rate.
③ Easy post-processing: Supports are easy to remove, and parts can be sanded or painted with minimal difficulty.
① Moderate performance: Lacks specialized properties such as high strength, high heat resistance, or extreme toughness.
② Aging over time: Long-term exposure to light or environmental factors may cause brittleness or yellowing.
③ Limited micro-detail capability: For extremely fine textures or microstructures, specialized high-detail resins generally perform better.
Concept validation, appearance prototypes, educational models, and non-critical display parts.
Toughness Resin
Toughness resin is designed to provide high flexibility and impact resistance. Printed parts can withstand repeated bending or deformation without breaking.

① High elongation: Typically offers elongation at break above 20%, allowing parts to bend significantly before failure.
② Impact resistance: Capable of absorbing sudden impacts and reducing the risk of brittle fracture.
③ Fatigue resistance: Suitable for parts that undergo repeated mechanical movement or stress.
① Lower stiffness: Parts may deform elastically under load and are not ideal for structures requiring high rigidity.
② More difficult surface finishing: Sanding may create rough edges, making mirror-like finishes harder to achieve.
③ Moderate heat resistance: Heat deflection temperatures are typically lower than those of rigid engineering resins.
Snap-fit components, clips, flexible hinges, shock-resistant housings, and functional prototypes requiring durability.
High Temperature Resin
High temperature resin is a high-performance material characterized by a high elastic modulus and excellent thermal stability. It is suitable for structural components or prototypes that must maintain dimensional stability under elevated temperatures.

① High rigidity and dimensional stability: High modulus and low creep help maintain precise geometry over time.
② Excellent heat resistance: Heat deflection temperatures can exceed 150 °C in some formulations.
③ Strong creep resistance: Maintains shape even under continuous mechanical load.
① Brittleness: Low elongation at break makes parts more susceptible to cracking under sudden impact.
② High internal stress: Polymerization shrinkage during curing can lead to warping, especially in large solid parts.
③ More complex processing: Achieving the rated material properties often requires carefully controlled post-curing.
Hollow the model when possible. Adding sufficient drainage holes helps reduce internal stress during curing.
Maintain a stable printing environment. Printing in a slightly warm environment can improve resin flow and printing stability.
Use slower lift speeds. Lower lift speeds reduce peel forces during layer separation and help improve print reliability.
Follow proper post-curing procedures. To achieve the rated material properties, secondary thermal curing should follow the resin datasheet specifications, including temperature, curing time, and heating rate.
Thermoforming molds, fluid testing components, and functional prototypes designed for high-temperature environments.
High Precision Resin
High precision resins are designed for applications where fine details and dimensional accuracy are critical. These materials typically have very low curing shrinkage, allowing them to reproduce extremely small features while maintaining excellent dimensional fidelity.

① Exceptional detail reproduction
Capable of capturing micron-level features with sharp edges and highly defined surfaces.
②High dimensional accuracy
Very low volumetric shrinkage helps minimize deformation and ensures precise dimensions.
③Smooth surface finish
The cured surface is dense and smooth, making it suitable for electroplating or precision casting.
①Mechanical strength and toughness are usually moderate, making the material unsuitable for load-bearing parts.
②Achieving optimal results often requires precise exposure calibration.
③Material cost is typically higher than standard resins.
Calibration: Use professional calibration models to fine-tune layer exposure times and achieve the best balance between detail resolution and dimensional accuracy.
Post-processing: Ensure models are fully dried after cleaning before UV curing, as residual solvent or moisture can affect surface quality. Finished parts can be used directly for silicone molding or precision assemblies.
Jewelry casting patterns, miniature models, precision mechanical prototypes.
Flexible Resin
Flexible resins are formulated to simulate rubber-like materials, offering elasticity and resilience after curing.
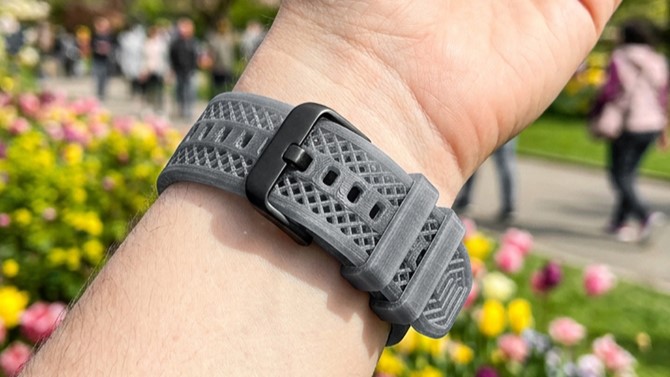
①Rubber-like elasticity
Available in a wide hardness range, allowing the material to simulate textures from soft gel to firm rubber.
②High rebound performance
Parts can quickly return to their original shape after compression or stretching.
③Good tear resistance
Suitable for applications that require repeated deformation.
①Printing can be challenging due to high viscosity and strong peel forces during layer separation.
②Support removal and surface finishing are more difficult than with rigid resins.
③Some flexible resins may gradually harden or become brittle over time.
Model design: Design self-supporting geometries whenever possible and avoid large cross-sections. Use multiple light-touch supports at the base of the model.
Print settings: Reduce lift speed significantly and increase rest times to minimize peel stress during printing.
Post-processing: Soaking the model in warm water can soften both the part and the supports, making removal easier. A rotating curing chamber is recommended to ensure even UV exposure.
functional seals, cushioning components, soft robotic joints, and deformable structures. They are also suitable for producing gaskets, protective pads, footwear prototypes, and other flexible parts.
Dental Resin
Dental resins are specialized materials developed for medical and dental applications. These materials are typically certified for biocompatibility and are intended for producing devices that may come into contact with the human body.

①Certified safety and biocompatibility
Manufactured to comply with strict medical standards that define approved usage scenarios.
②High precision and dental-grade coloration
Designed to meet the accuracy and appearance requirements of dental applications, including natural tooth or gum shades.
①Dedicated equipment and controlled workflows are often required to prevent cross-contamination.
②Mechanical properties are optimized for medical compliance rather than general engineering performance.
Producing surgical implant guides, orthodontic aligner models, temporary crowns, and other precision dental tools and devices.
Printer Performance Calibration
The print quality of resin-based 3D printing is determined by the coordinated performance of three core systems: the exposure system, motion control system, and environmental management. Each of these systems contains key parameters that must be properly adjusted. Optimizing the combination of these parameters is essential for achieving high-precision and high-strength prints.
To help users quickly locate and configure parameters for different types of resins, we have compiled a comprehensive resin printing parameter reference table. By using this reference table, users can gradually build a personalized parameter library tailored to different materials and printers, enabling them to progress from basic printing to precise process control.
Application Expansion
This section introduces the complete workflow for finishing resin prints, from post-printing cleanup to achieving a high-quality painted surface. By removing print marks and refining the model surface, you can create miniatures with vibrant colors and sharp details.
Sanding and Polishing
After secondary curing, inspect the print for any small remaining support marks, nubs, or burrs on the surface. Carefully scrape or trim these minor residues using a hobby knife or flush cutters.
Depending on the model’s complexity and the desired surface quality, sanding is typically performed in three stages: rough sanding → fine sanding → polishing.
1. Rough Sanding: Removing Layer Lines and Support Marks
Use 180–800 grit sandpaper or sanding sponges to remove visible layer lines and support marks.
After sanding, rinse the model with water and clean the surface with a soft brush or toothbrush. The sandpaper can also be rinsed and reused.
2. Fine Sanding: Surface Refinement
Use 800–1800 grit sanding sponges to remove scratches left from rough sanding and further smooth the surface.
For narrow gaps or complex structures, cut small pieces of sandpaper and wrap them around a cotton swab for more precise sanding.
3. Polishing: Improving Surface Finish
Use 1800–2500 grit ultra-fine sanding sponges to polish the surface and achieve a smoother, more refined finish.
Surface Primer (Putty/Primer Layer)
1. Choosing the Right Primer
Gray Primer: A general-purpose option suitable for most paint bases.
Black Primer: Recommended for metallic paints or darker color schemes, as it enhances metallic depth.
White Primer: Ideal for bright or light-colored paint schemes.
2. Application Method
Dilute the primer with high-concentration alcohol or the appropriate thinner, then shake thoroughly.
Apply the primer using multiple thin coats, allowing about 10–15 minutes between layers to prevent paint buildup or dripping.
After the primer dries, inspect the model for small imperfections. If necessary, use modeling putty to fill minor surface defects.
Painting
Airbrushing / Spray Painting: Recommended for large surface areas. Using an airbrush or spray paint provides a more even coating. For light colors, apply multiple thin layers.
Wash or Wipe Techniques: For weathering effects or highlighting textures, apply diluted paint using a cloth, tissue, or brush.
Brush Painting: Suitable for small details and touch-ups. Apply paint carefully to maintain smooth brush strokes.
After painting is complete, apply a clear protective coat (gloss, satin, or matte depending on the desired finish). This protects the paint from wear and fading while also adjusting the final surface appearance.