Customer:Sworth
This printer is very easy to set up and use. I love the fact that it comes with a bl touch, runout sensor and dual gear extruder, it also has two wheels on each corner to manually level the bed the second one is to lock the wheel in place. It is a super fast printer. All around it is a great machine for the price.

Customer:Guy on a Budget
Terminator T3 is a great name for this printer. very fast
Set up for this printer was very easy. It came packaged very well will lots of padding. Four screws and the main frame was ready to go. The printer came perfectly spaced for the z offset which surprised me. Not to say that will be for all I might have gotten lucky. First test print at the fast speed had great layer adhesion and great print quality. Will be printing more larger items to test for speed vs size. Look for a further review in the future after some more use.

Customer:Randy Dees
An excellent printer with upgrades pre-installed
This is an outstanding printer. Out of the box to printing, under an hour. Print speed is fantastic - leave 'fast mode' on and expect Cura's estimations to be on the order of 200% of actual time.
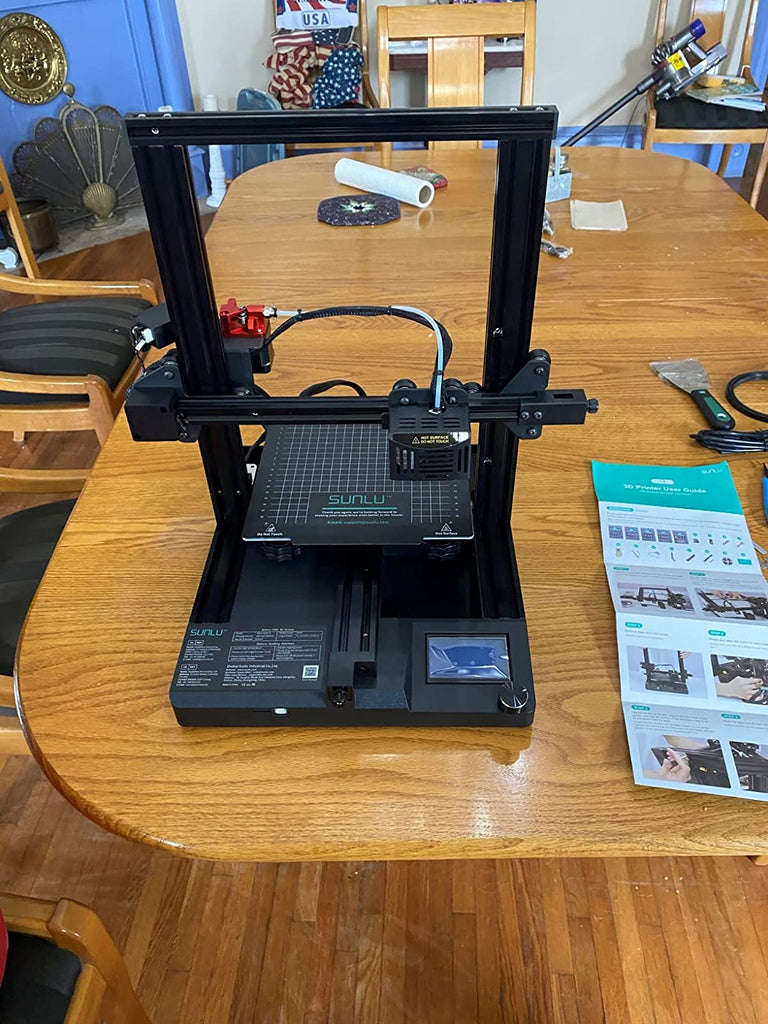
The first few images are unboxing and build. Very well packaged, and it really does take less than 30 minutes to assemble. 10 screws and one electrical connector, add power, and you're rocking along. There was no pre-sliced gcode on the included microSD card, so I spent a few minutes trying to identify what settings to use.
The included slicer is an old version of Cura, and does not include a pre-defined profile. Sunlu's documentation only has you setting the build volume, but a few posts online suggest that using an unmodified Ender 3 profile works just fine so I tried that.
Cut tape on box to first print? Under an hour. I printed the flexi astronaut shown in the photos. According to Cura, 13 hr print. This machine with no changes? 5 hrs.
I do recommend basic tuning like most FDM printers require. In my case I had to level the base of the unit, since one of the 4 feet did not sit flat on the table. Take loose the 4 bolts under the Z gantry, get the feet to lay flat, then re-tighten. I also adjusted the eccentric nuts on about half of the gantry wheels to reduce slop - one side of Z and half of the wheels on the base needed some tightening. These are basic maintenance for anyone who is working with this style of printer, and while I would have preferred not to have needed to mess with them they're not even close to real problems.
Without any other tuning, using the filament which came with the printer, the visor on the astronaut was able to be broken loose and rotate into either the open or closed positions as it should. Outstanding!