

Opening the Filament Package
When receiving a new spool of filament, first inspect the vacuum packaging carefully.
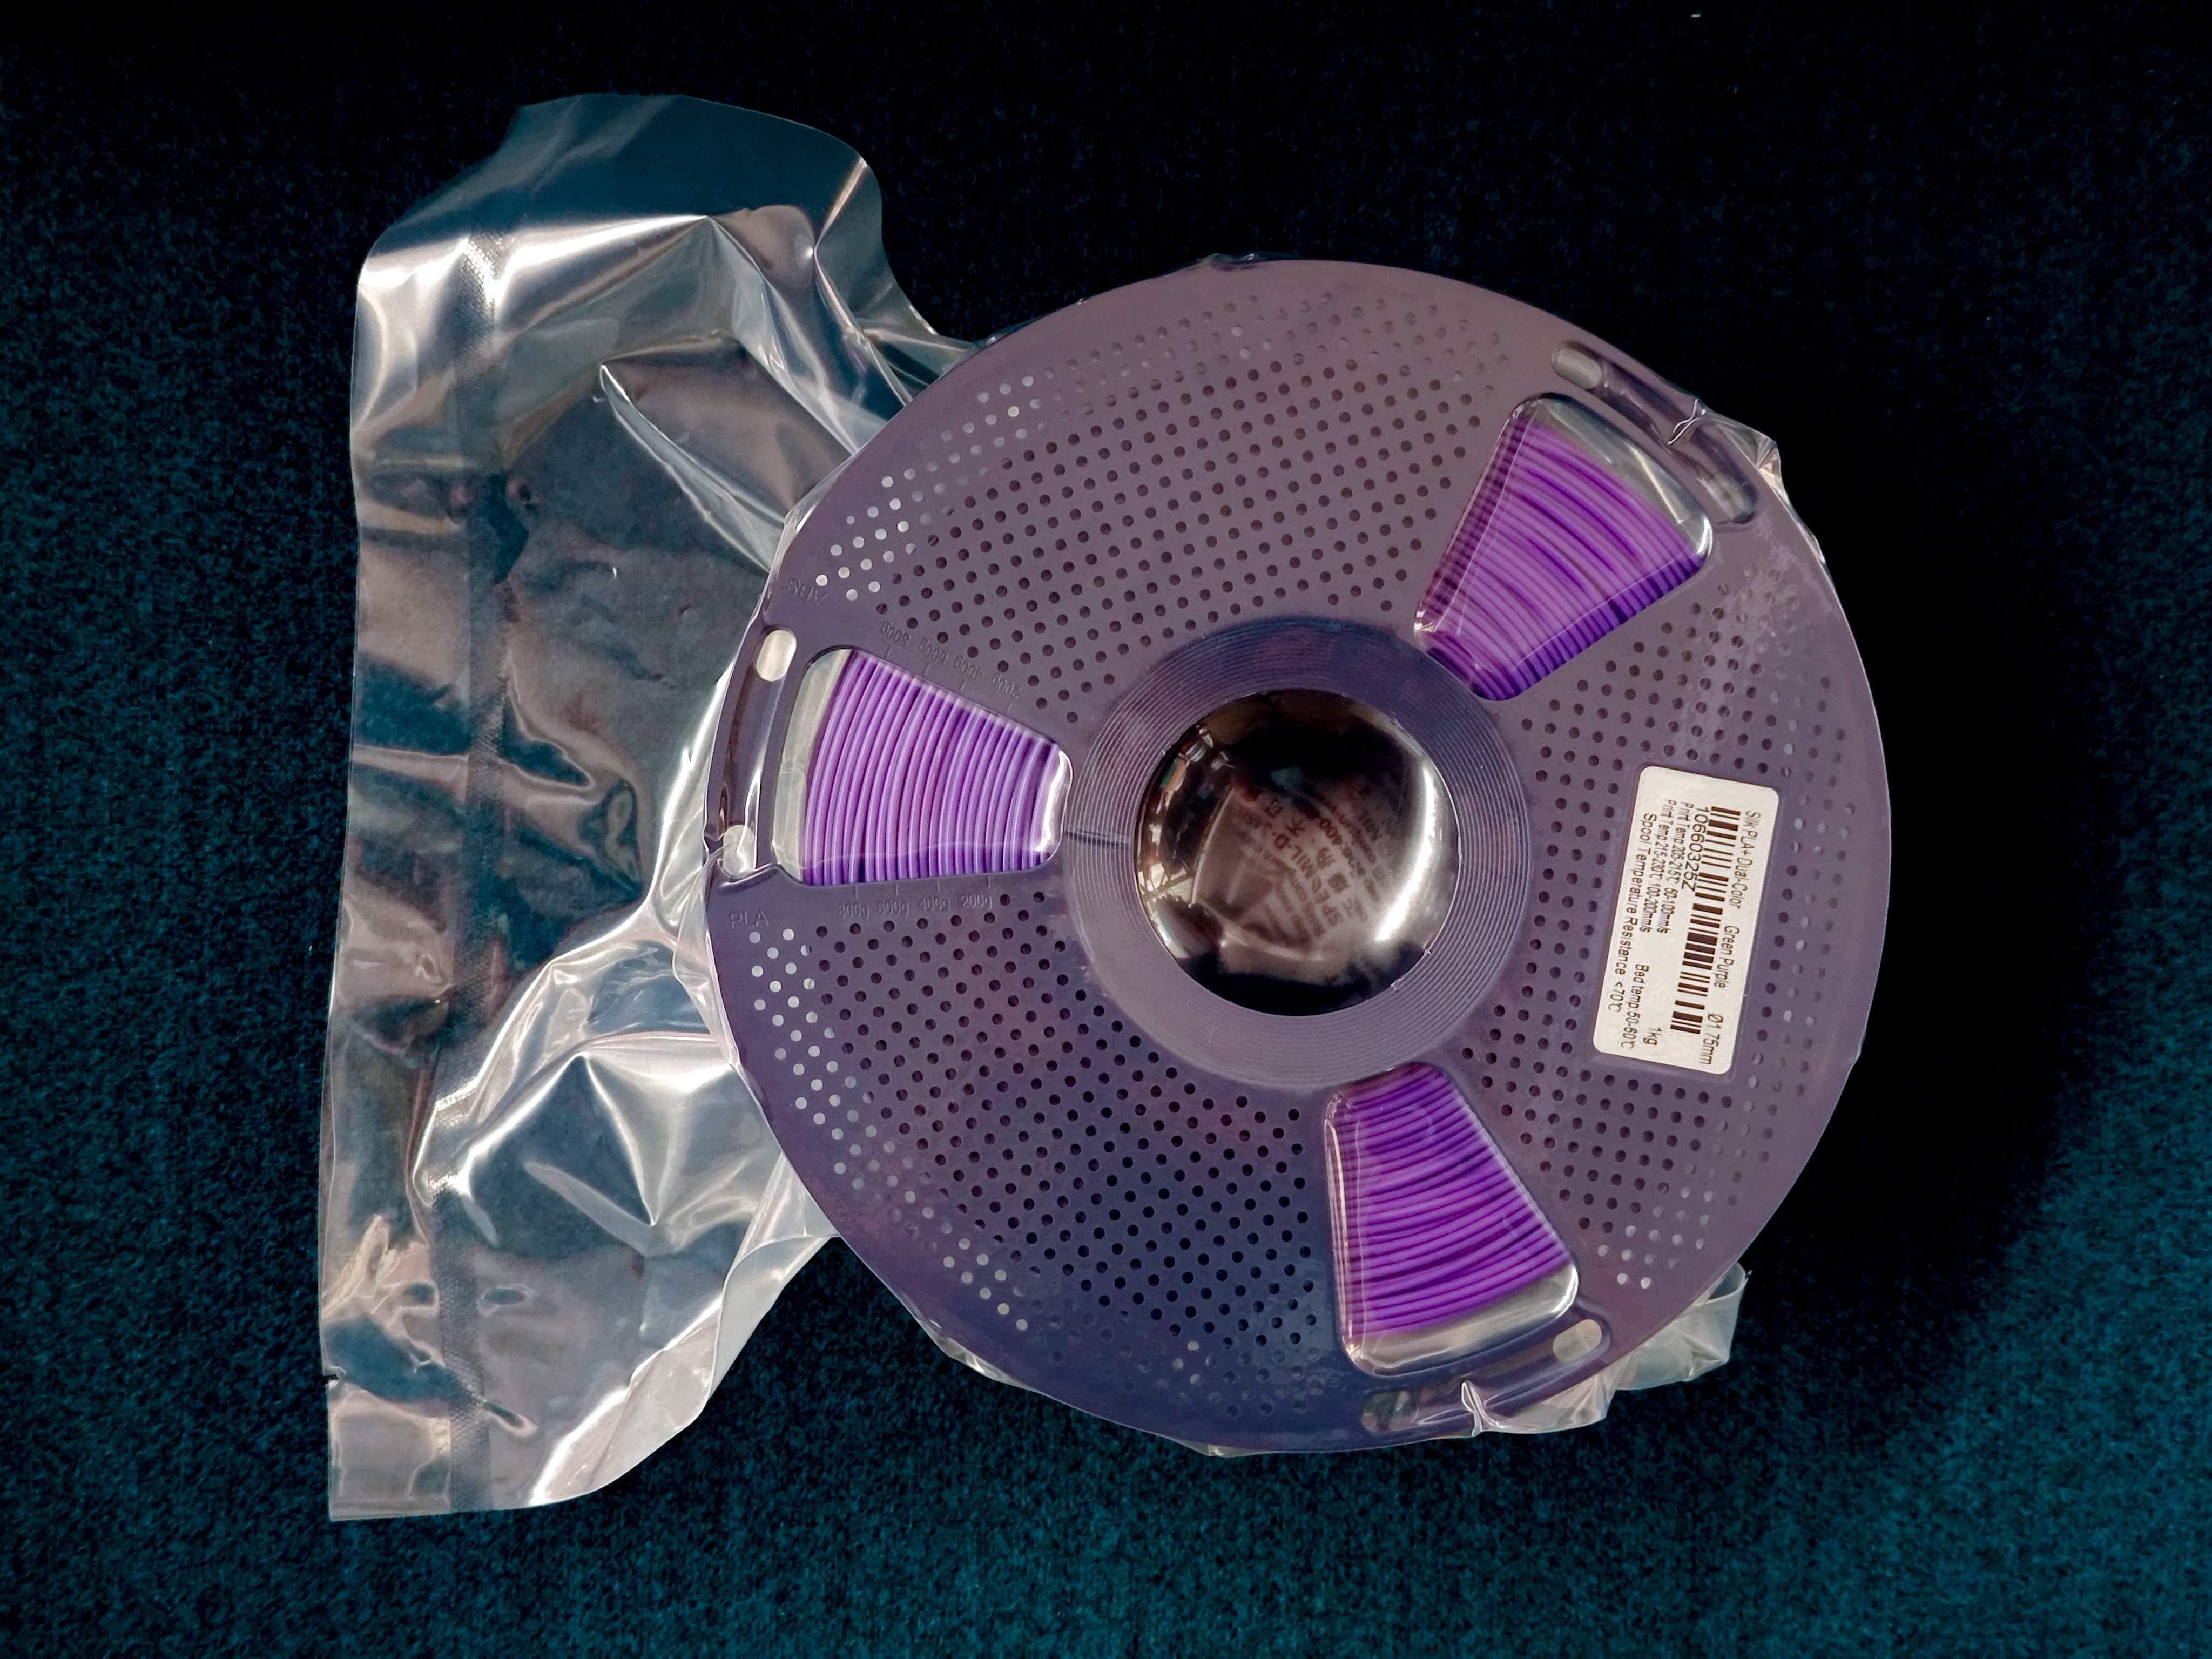
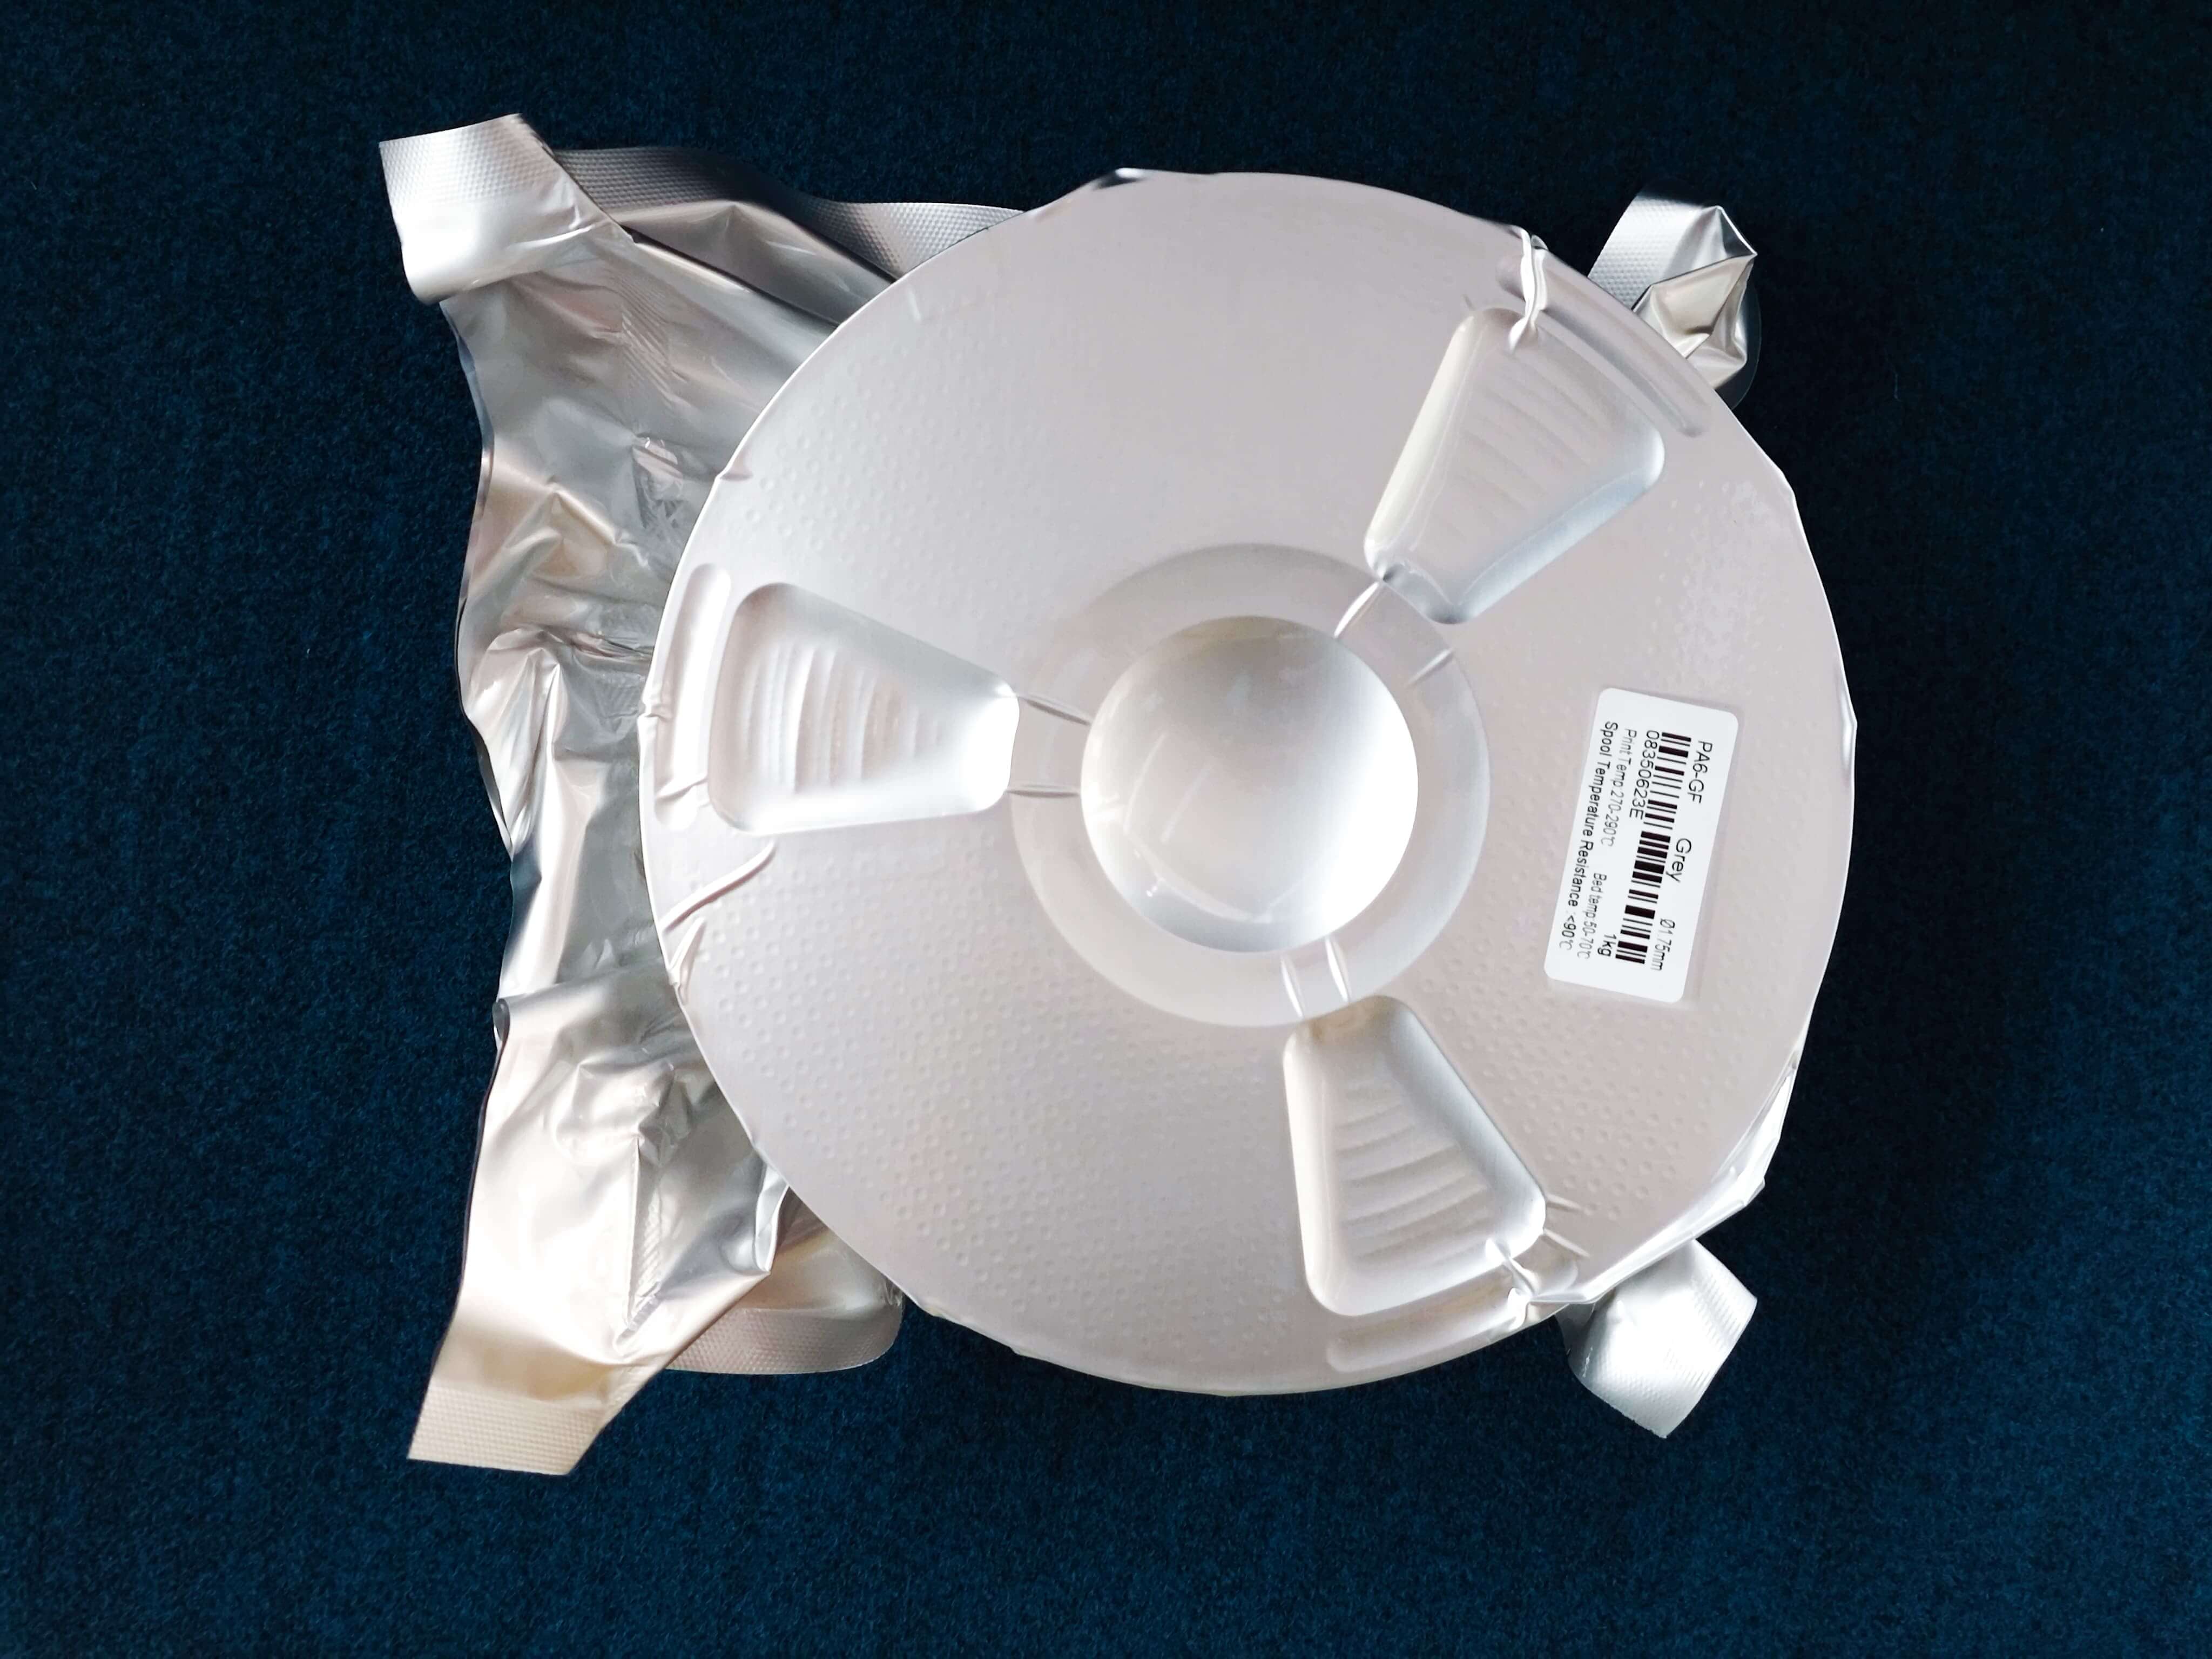
Check whether:
- the bag remains tightly vacuum-sealed
- the sealing edge is intact
- the desiccant packet shows any color change
These indicators help determine whether the filament may have been exposed to moisture during transportation or storage.
Recommended unpacking steps
- Use scissors to cut along the sealed edge of the bag
- Avoid damaging the filament, sealing strip, or desiccant pack
- Keep the desiccant and filament clip for later storage use
Even if the packaging appears intact, filament may still absorb small amounts of moisture after long shipping periods or storage in humid environments. For best results, drying the filament before printing is recommended.
Drying the Filament
Drying filament before printing helps ensure consistent print quality, especially if the vacuum packaging appears loose. When filament absorbs moisture, it may produce bubbling or popping during extrusion, increased stringing, reduced layer adhesion, and in some cases nozzle clogging.
Filament Drying Settings Reference
| Filament Type | Drying Required? | Temperature | Time |
| Beginner-friendly Materials | |||
| PLA / PLA+ | Recommendation | 50–55℃ | 6–8h |
| High Speed PLA | Recommendation | 50–55℃ | 6–8h |
| PLA Matte / Meta | Recommendation | 50–55℃ | 6–8h |
| Silk PLA / Multi-color PLA | Recommendation | 50–55℃ | 6–8h |
| PLA-CF | Recommendation | 50℃ | 6–8h |
| Advanced Materials | |||
| PETG | Recommendation | 60–65℃ | 6–8h |
| PETG-CF | Recommendation | 60–70℃ | 6–8h |
| PETG Glow in The Dark | Recommendation | 60–65℃ | 6–8h |
| ABS | Recommendation | 75–85℃ | 6–8h |
| ASA | Recommendation | 80℃ | 6–8h |
| ABS-FR | Recommendation | 80℃ | 2–4h |
| PC/ABS | Recommendation | 70–80℃ | 6–8h |
| PP | Recommendation | 50–80℃ | 2–4h |
| High-Moisture Absorption / Engineering Materials | |||
| TPU | Must | 50–60℃ | 6–8h |
| PVA | Must | 50–60℃ | 8–12h |
| PVB | Must | 50℃ | 1–2h |
| PA(Nylon) | Must | 80–110℃ | 4–12h |
| PA-CF / PA-GF | Must | 80–110℃ | 8–12h |
| PC | Must | 70–80℃ | 6–8h |
| PEEK | Must | 110–140℃ | 4–6h |
| LW-PLA | Must | 50–55℃ | 6–8h |
| PLA Wood | Must | 55–65℃ | 6–8h |
Pre-drying is one of the most effective ways to avoid these issues. Drying conditions vary depending on the material. Regularly checking and drying filament helps maintain stable printing performance and prevents unnecessary print failures.
Loading the Filament
SUNLU is committed to developing efficient and sustainable 3D printing solutions. Our third-generation reusable spool system improves on traditional spool designs while providing a more convenient and environmentally conscious printing experience.
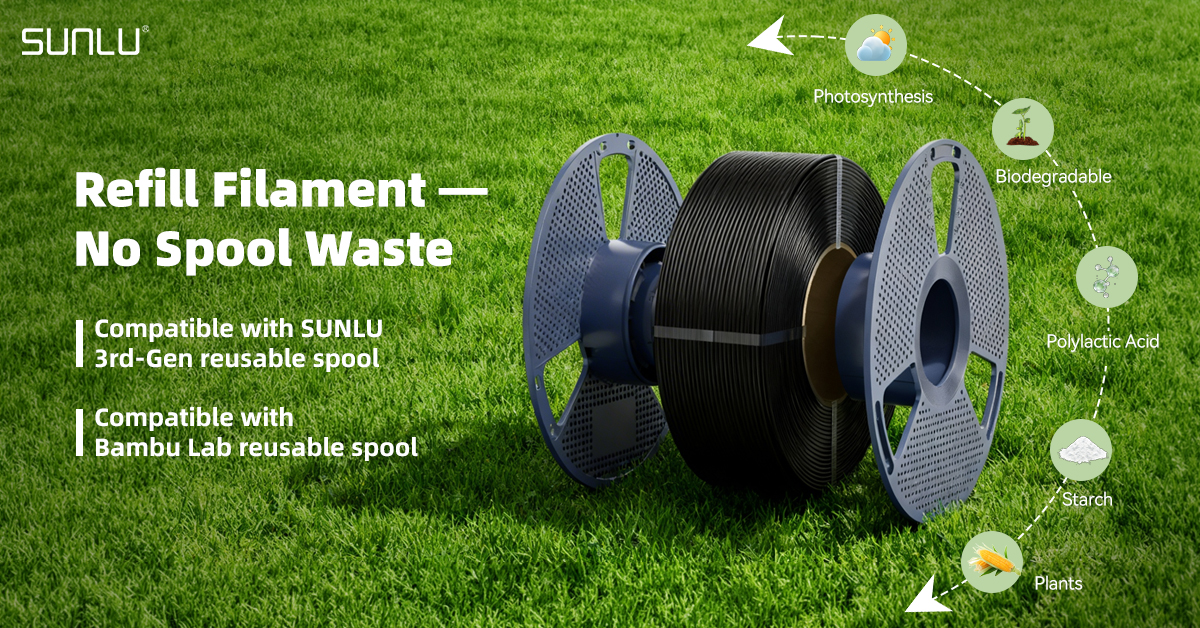
To support different user needs, SUNLU filaments are available in two formats: standard filament spool and filament refill (spool-less).
If you already own several SUNLU reusable spools, refill filament can be a practical option for future purchases. It reduces storage space requirements, minimizes packaging waste, and helps lower long-term material costs.
(If you are not using refill filament, you may skip the following installation steps.)
Installing Refill Filament
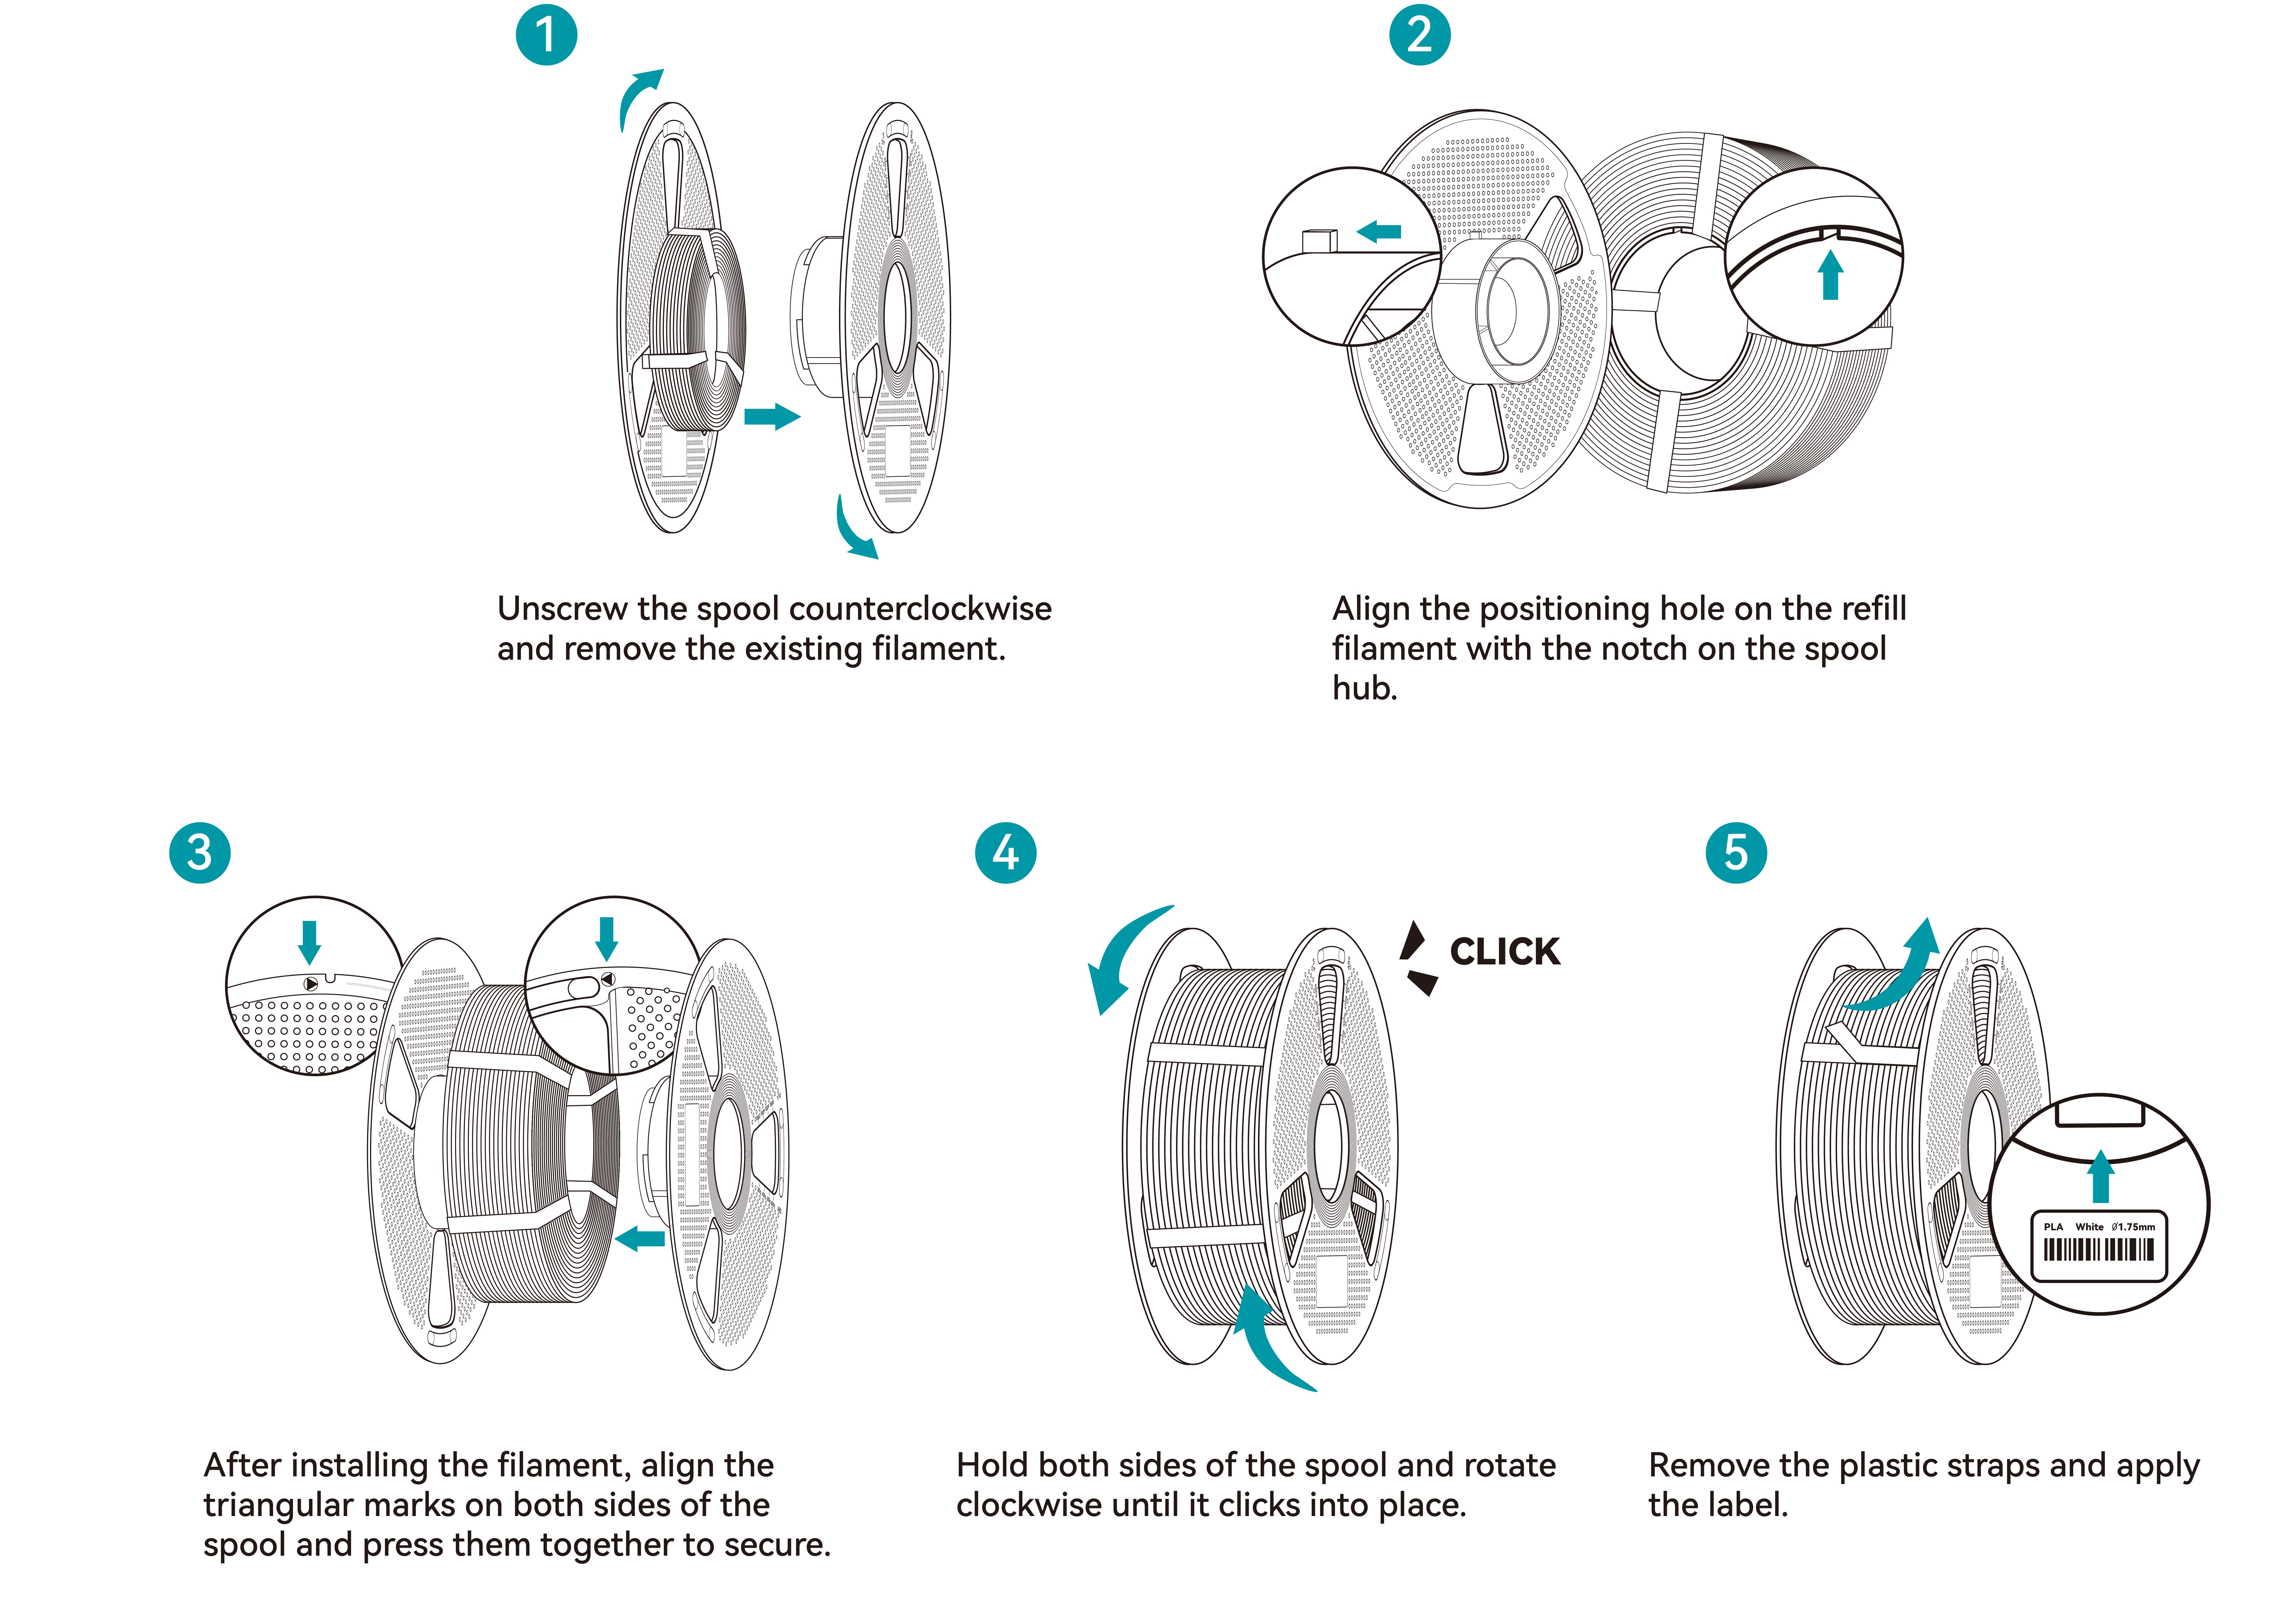
1. Remove the refill filament and the nylon zip tie from the packaging box. Do not remove the tie yet, as it prevents the filament from unraveling.
2. Before removing the previous filament from your spool, use the included zip tie to secure the remaining coil through the center of the spool. This helps prevent tangling during removal.
3. Hold the spool firmly and rotate it counter-clockwise to remove the remaining filament.
4. Install the new refill filament onto the spool, align the markings, and rotate the spool clockwise until it locks into place. You should hear a “click,” indicating that the locking mechanism is engaged.
5. Carefully remove the zip tie and keep it for future spool changes.
After drying, place the filament on the printer’s spool holder or AMS system. Feed the filament into the PTFE tube and select the “Load Filament” option on the printer’s control panel.
When inserting the filament, apply steady pressure. Some printers—especially new ones—may require slightly more force. If insertion is difficult, cut the filament tip at a 45° angle, then insert it straight into the extruder inlet. Once the filament begins feeding into the extruder, continue holding it in place for about 10 seconds to ensure proper loading.
Start Printing
1. Prepare the model and slicing settings: Load or design your 3D model on your computer. Use slicing software such as Bambu Studio or Cura to select the correct material profile and configure the recommended printing parameters.
2. Send the print job: Transfer the sliced file to the printer. Confirm the settings on the printer interface or within the slicing software, then start the print.
3. Printing and post-processing: The printer will automatically execute the print job. After the print is complete, perform the necessary post-processing steps depending on the material. These may include removing the model from the build plate, removing supports, and cleaning if required.
Storing Filament
Proper filament storage helps maintain consistent print quality and extends the usable life of the material. If the filament will not be used for an extended period after printing, follow these steps:
1. Unload the filament
Use the printer’s unload function to retract the filament from the extruder and hotend.
2. Secure the filament end
Remove the spool from the spool holder and insert the loose filament end into the spool clip or the side hole on the spool to prevent it from loosening and tangling.
3. Seal against moisture
Place the spool in a sealed bag or a dry box to protect it from moisture. For hygroscopic materials such as PLA, PETG, and Nylon, adding desiccant packs is strongly recommended.
4. Store in a proper environment
Keep the sealed filament in a cool, dry place away from direct sunlight. Proper storage conditions help maintain stable material performance and reduce printing issues caused by moisture absorption.